Sascha Basmer is a passionate photographer who loves to explore the world around him through the viewfinder of his camera.
“Photography has many facets and gives me as a photographer plenty of opportunities to be creative. Combined with subsequent image processing, there are virtually no limits when it comes to creating unforgettable pictures.”
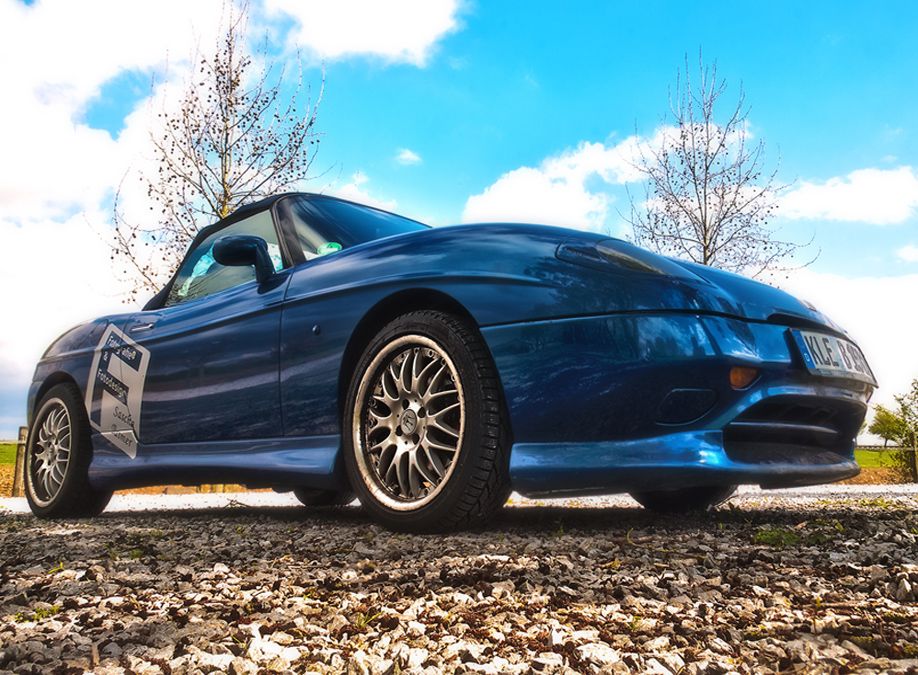
HDR photography certainly isn’t to everyone’s taste, but those who are new to it will soon learn how much fun it can be when following a few easy steps.
Thanks to state-of-the-art software, a tripod isn’t essential but I’d still recommend to use one – especially with very slow shutter speeds during exposure bracketing.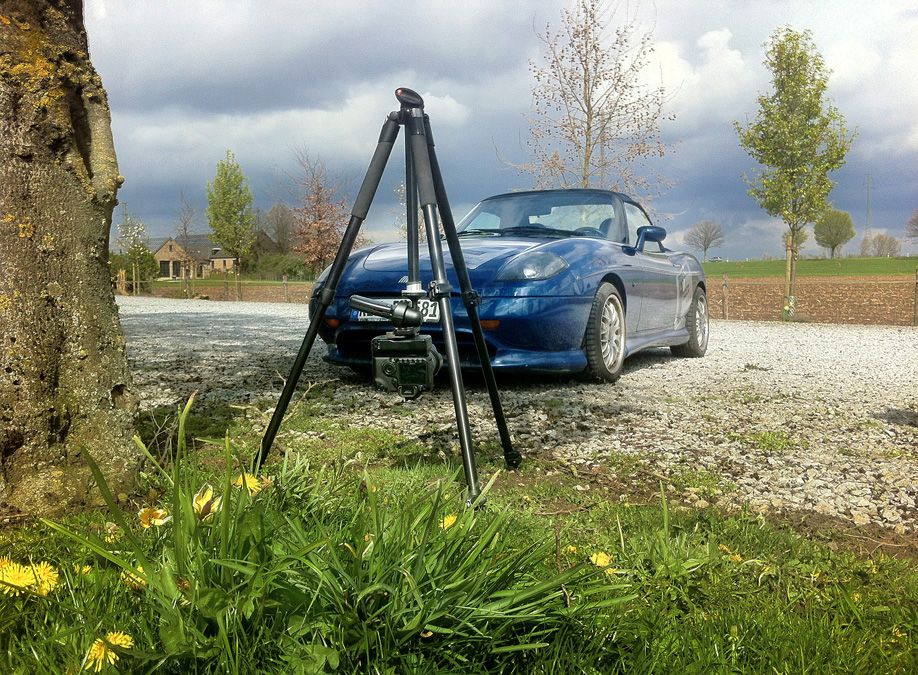
Once the camera is pointed at the object, a few frames must be taken. While some swear by 5 individual pictures, others say that 3 are enough, and some even claim that there’s no harm in taking a few more if you’re aiming for perfect gradations. I tend to use 3 pictures.

Set a fixed value for ISO and white balance and deactivate the autofocus to get sharp pictures of the same image area with all three shots. Then start shooting. Menus of state-of-the-art cameras offer settings for exposure bracketing but you can easily do without this function. Once you’ve found the correct exposure, halve the shutter speed to take the underexposed shot. Then double the shutter speed you need to achieve the correct exposure for the overexposed shot.
Everything else can be fixed on your PC using appropriate image processing software.
Guest blogger: Sascha Basmer, http://bassascha.de/